
Start with GitHub Copilot
wisp runs the GitHub Copilot CLI, copilot, in the background, one worktree per task. It needs a GitHub Copilot
plan.
What you need
npm i -g @github/copilotSign in
Copilot signs in with its own login. Run copilot login once in a terminal, then tell wisp to look again.
Open Settings (the person button in the top bar, or ⌘K → Settings) → Agents → Re-check. Copilot shows Ready once it’s signed in.
In the browser (wisp --browser, or your cloud wisp) it’s the same window, menus and keys.
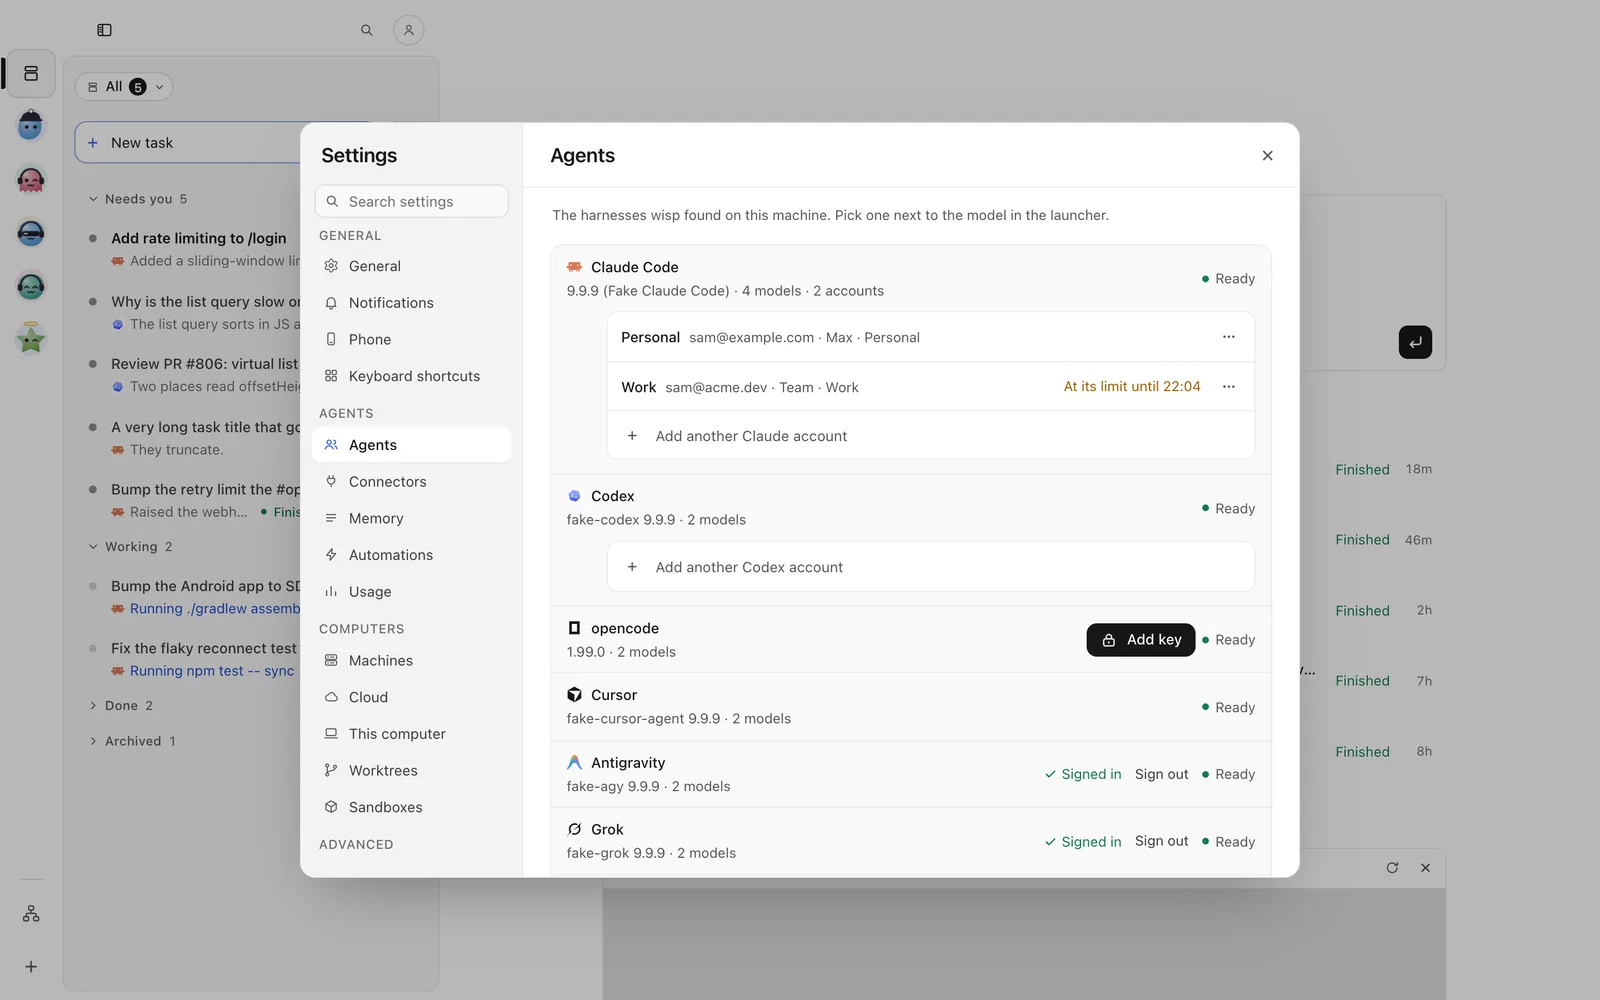
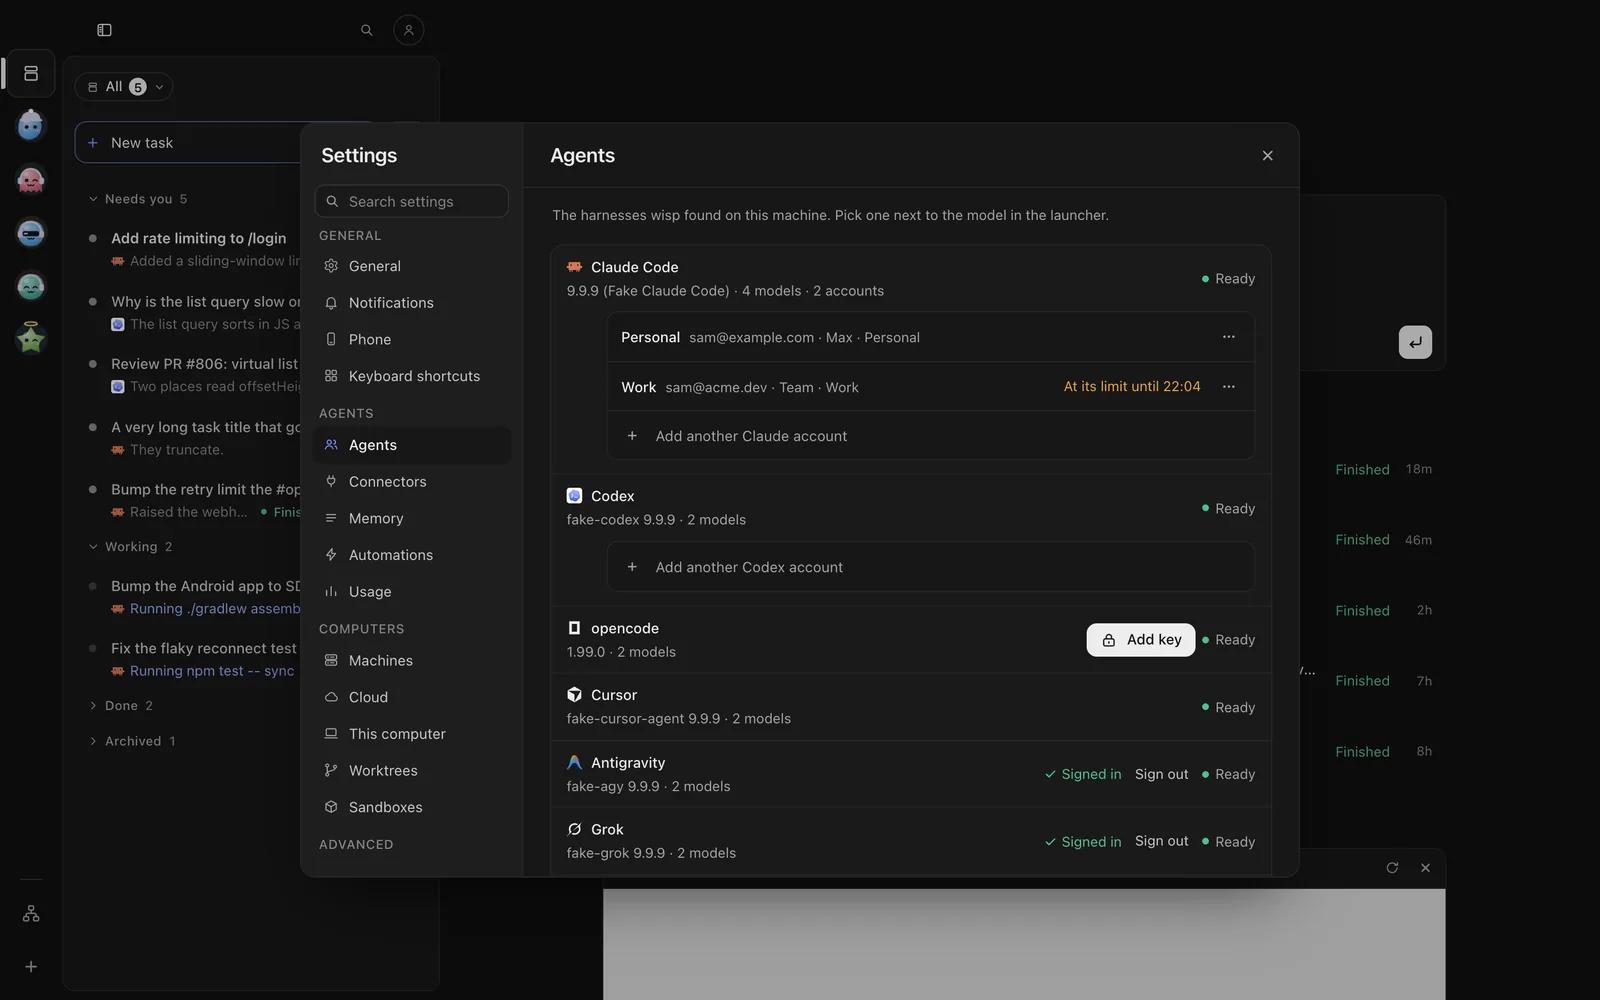
Tap the person button at the top of Tasks → Settings → Agents → Re-check. Copilot shows Ready once it’s signed in.
Send /accounts recheck.
wisp accounts recheckPick it, its model and its effort
wisp reads Copilot’s models from its own config help. Effort: low, medium, high, xhigh.
Click the harness chip in the New task footer (N), pick Copilot, then a model and a thinking level. On a running task, the same chip in the reply box changes it for the next follow-up.
Tap New task (on iPhone, the compose button at the top right), then the harness chip under the box. Pick Copilot, then a model and a thinking level. On a running task, tap the options chip in the reply bar, then the agent.
Send /runtime set-agent --agent copilot to move the open task to Copilot.
wisp "update the README badges" --agent copilot --effort mediumModes: Plan, Edits, Full auto (--mode plan|edits|auto). In Edits, a tool Copilot wasn’t allowed to
use shows on the task as a card with the exact rule to allow it.
What’s different with Copilot
- Copilot bills in premium requests, not dollars. Its turns count in Settings → Usage as turns and outcomes, not spend.
- wisp gives each new conversation its id up front, so a task and its Copilot session always match.
- wisp trusts the task’s folder for Copilot, so it doesn’t stop to ask.
Open in Copilot
Open the task’s ⋯ at its top right → Open in › Open in Copilot (key T). Copilot opens in a terminal in the side panel.
Open the task, then ⋯ (iPhone) or ⋮ (Android) → This task › Open in Copilot. Copilot’s own screen opens in a terminal on the phone.
Press o in the open task.
wisp runtime resume-command <id>