
Start with opencode
opencode is the quickest way to start: it has free models and needs no account. wisp can install it for you.
Install it
With no agent installed, home offers Install opencode. Otherwise open Settings (the person button in the
top bar, or ⌘K → Settings) → Agents and press Install next to opencode. It goes into
~/.wisp/tools, usually in under a minute.
In the browser (wisp --browser, or your cloud wisp) it’s the same window, menus and keys.
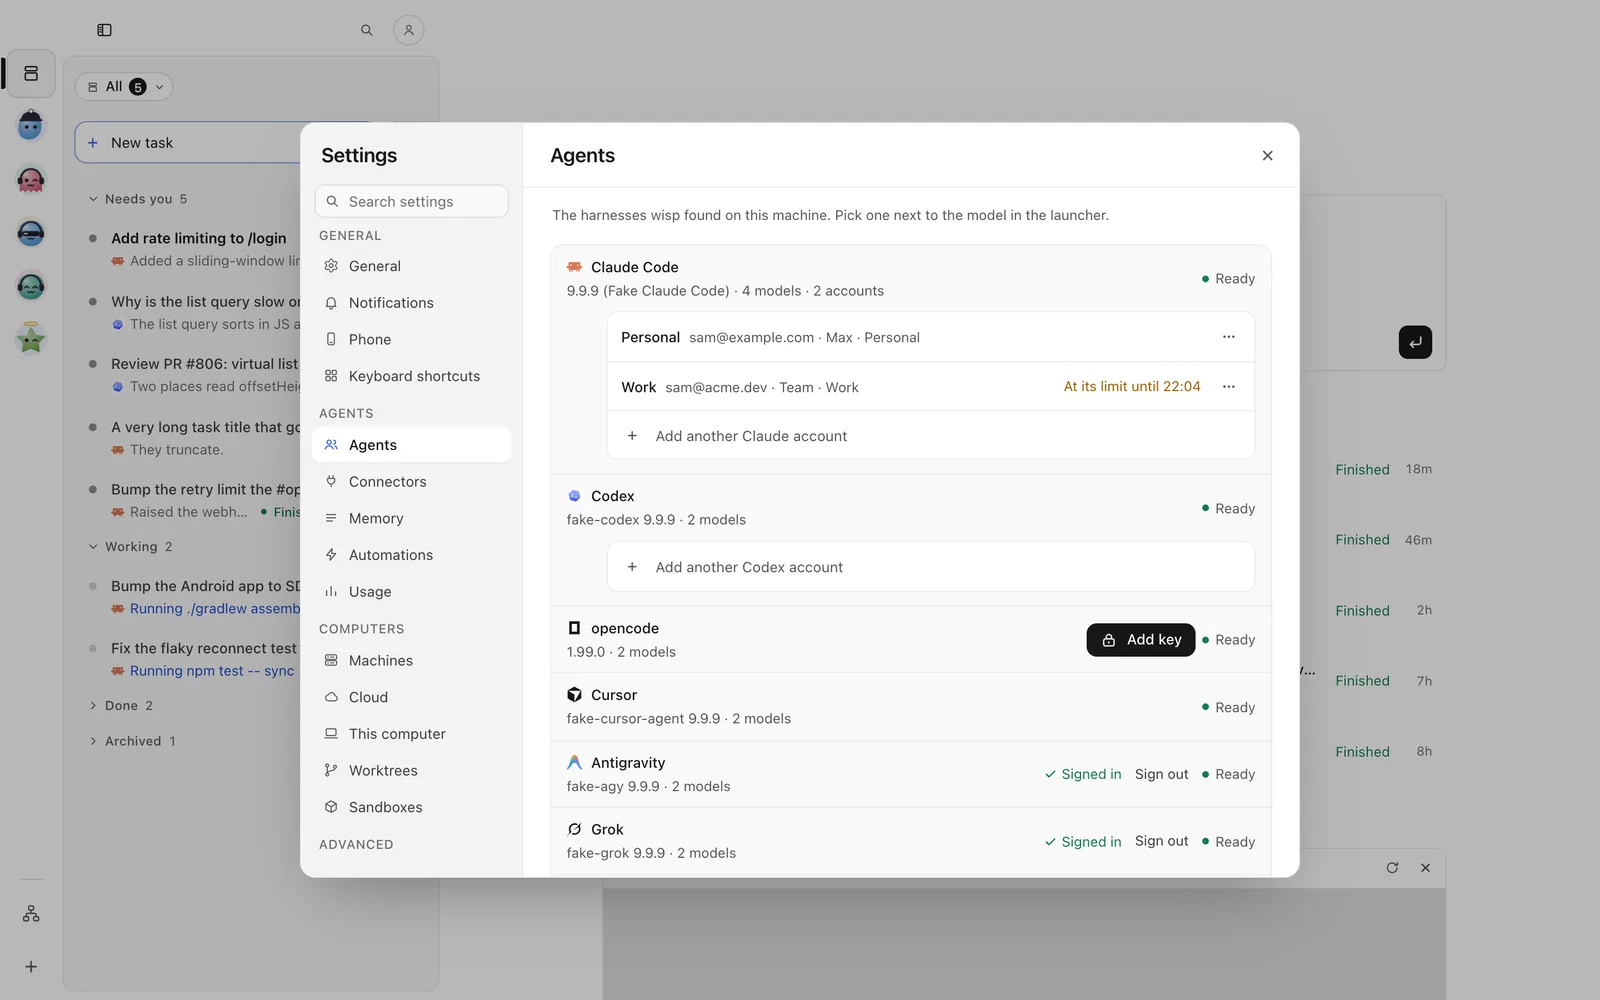
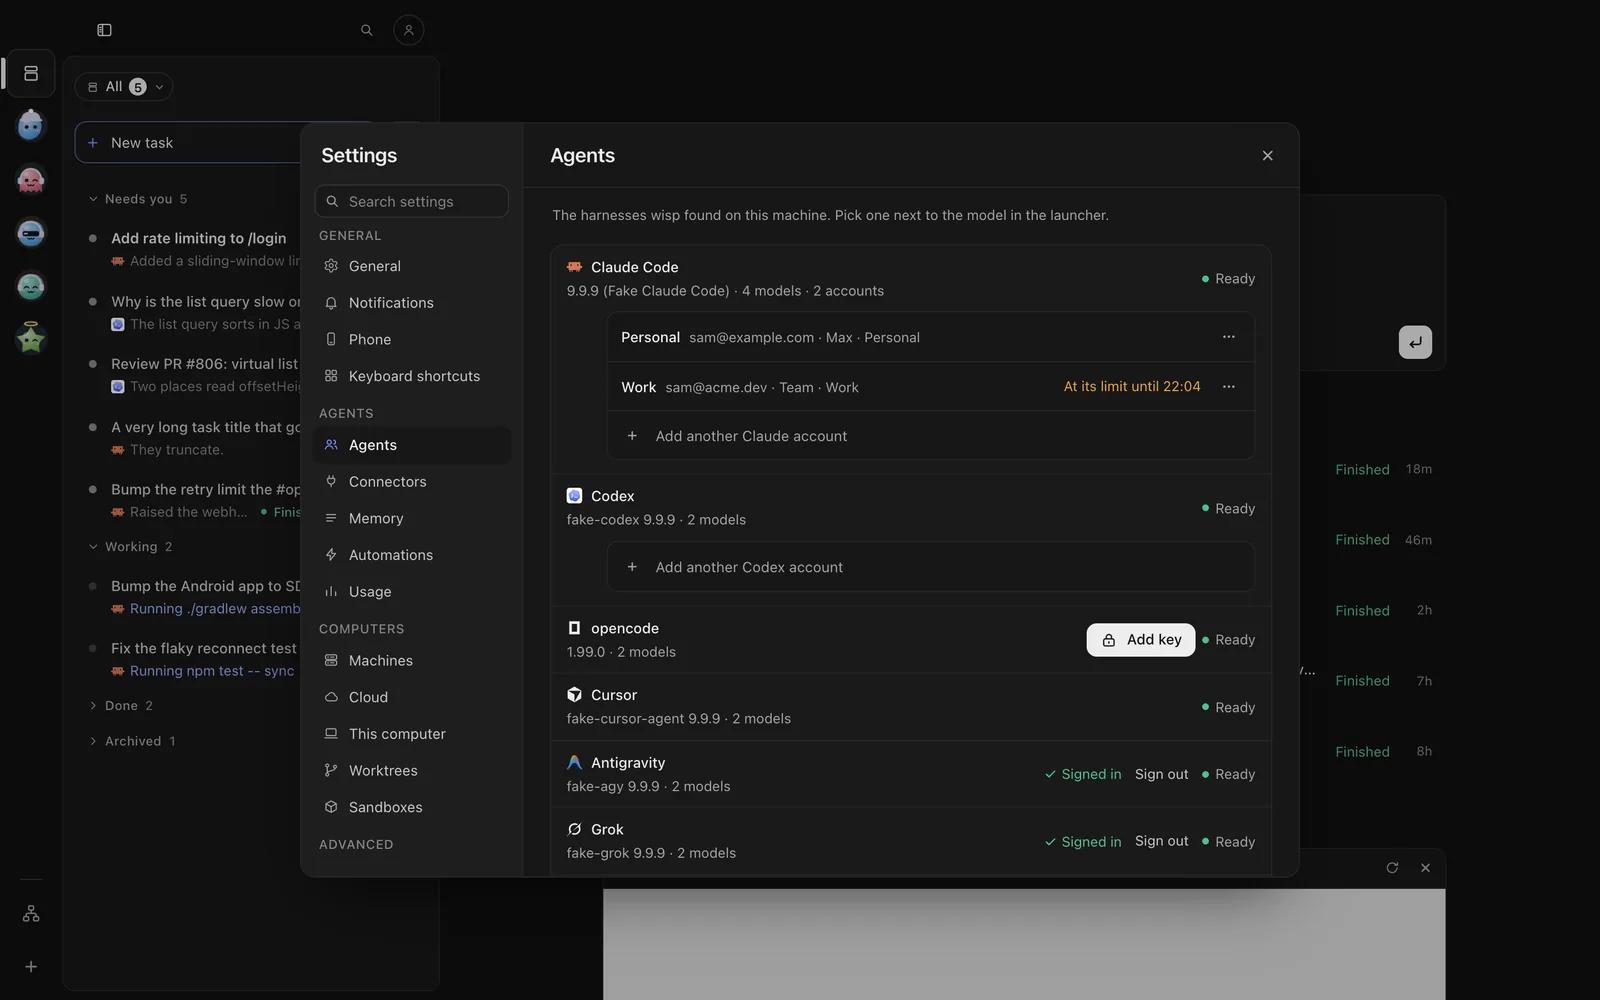
Tap the person button at the top of Tasks → Settings → Agents and tap Install next to opencode. It installs on the computer the phone is working on, usually in under a minute.
Send /accounts install opencode.
wisp accounts install opencodeOr install it yourself: npm i -g opencode-ai.
Sign in (optional)
Free models need nothing. For other providers, sign in with opencode’s own login in a terminal, then press
Re-check in Settings → Agents (wisp accounts recheck). The row says Free models only until a provider is
signed in.
Pick it and its model
wisp reads opencode’s models and their variants. The effort you pick becomes the model’s variant.
Click the harness chip in the New task footer (N), pick opencode, then a model. Type to search a long list. On a running task, the same chip in the reply box changes it for the next follow-up.
Tap New task (on iPhone, the compose button at the top right), then the harness chip under the box. Pick opencode, then a model. Type to search a long list. On a running task, tap the options chip in the reply bar, then the agent.
Send /runtime set-agent --agent opencode to move the open task to opencode.
wisp "write the missing docstrings" --agent opencode --model <provider/model>Modes: Plan, Edits, Full auto (--mode plan|edits|auto). In Edits, a command opencode wasn’t allowed
to run shows as blocked on the task.
What wisp adds for opencode
- wisp’s MCP server and your grants go in with each run, merged over your own
OPENCODE_CONFIG_CONTENT. - When a provider rate-limits it, opencode retries in silence. wisp notices and stops the run, so it doesn’t hang.
- Update to … in Settings → Agents runs opencode’s own upgrade.
Open in opencode
Open the task’s ⋯ at its top right → Open in › Open in opencode (key T). opencode opens in a terminal in the side panel.
Open the task, then ⋯ (iPhone) or ⋮ (Android) → This task › Open in opencode. opencode’s own screen opens in a terminal on the phone.
Press o in the open task.
wisp runtime resume-command <id>