
Start with Cursor
wisp runs the Cursor CLI, cursor-agent, in the background, one worktree per task, on your own Cursor account.
What you need
The Cursor CLI. The Cursor editor doesn’t include it.
curl https://cursor.com/install -fsS | bash # macOS and LinuxOn Windows, follow cursor.com/cli.
Sign in
Open Settings (the person button in the top bar, or ⌘K → Settings) → Agents → Sign in next to Cursor, then Open the sign-in page. Or press Keys and paste a Cursor API key.
In the browser (wisp --browser, or your cloud wisp) it’s the same window, menus and keys.
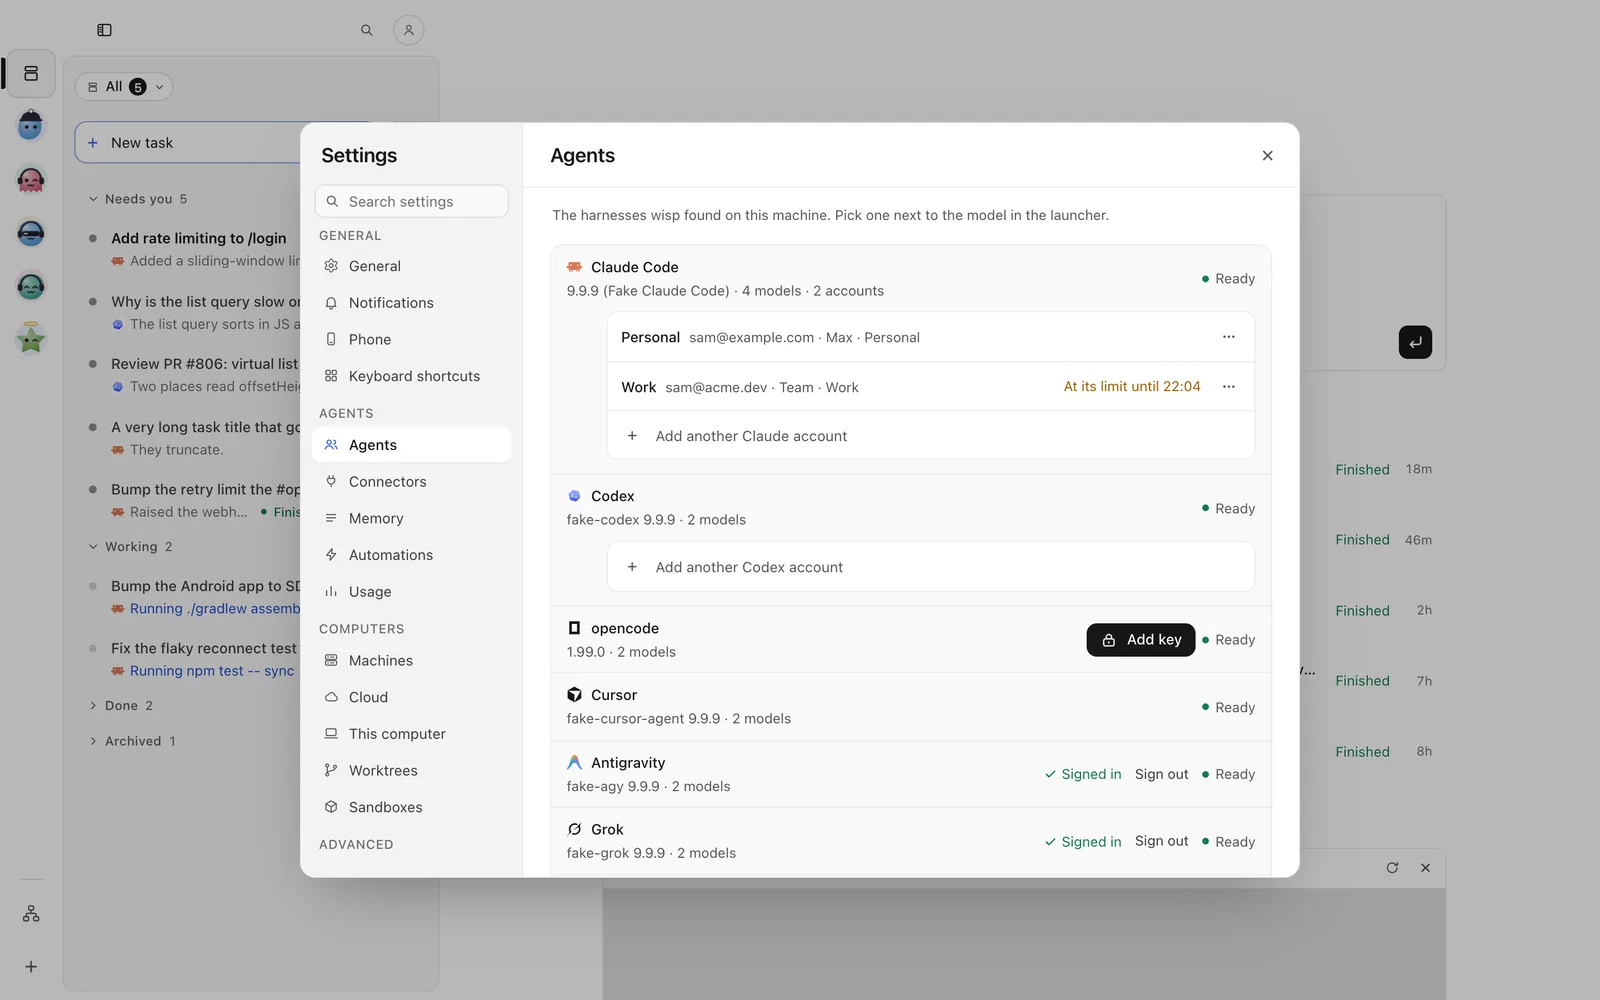
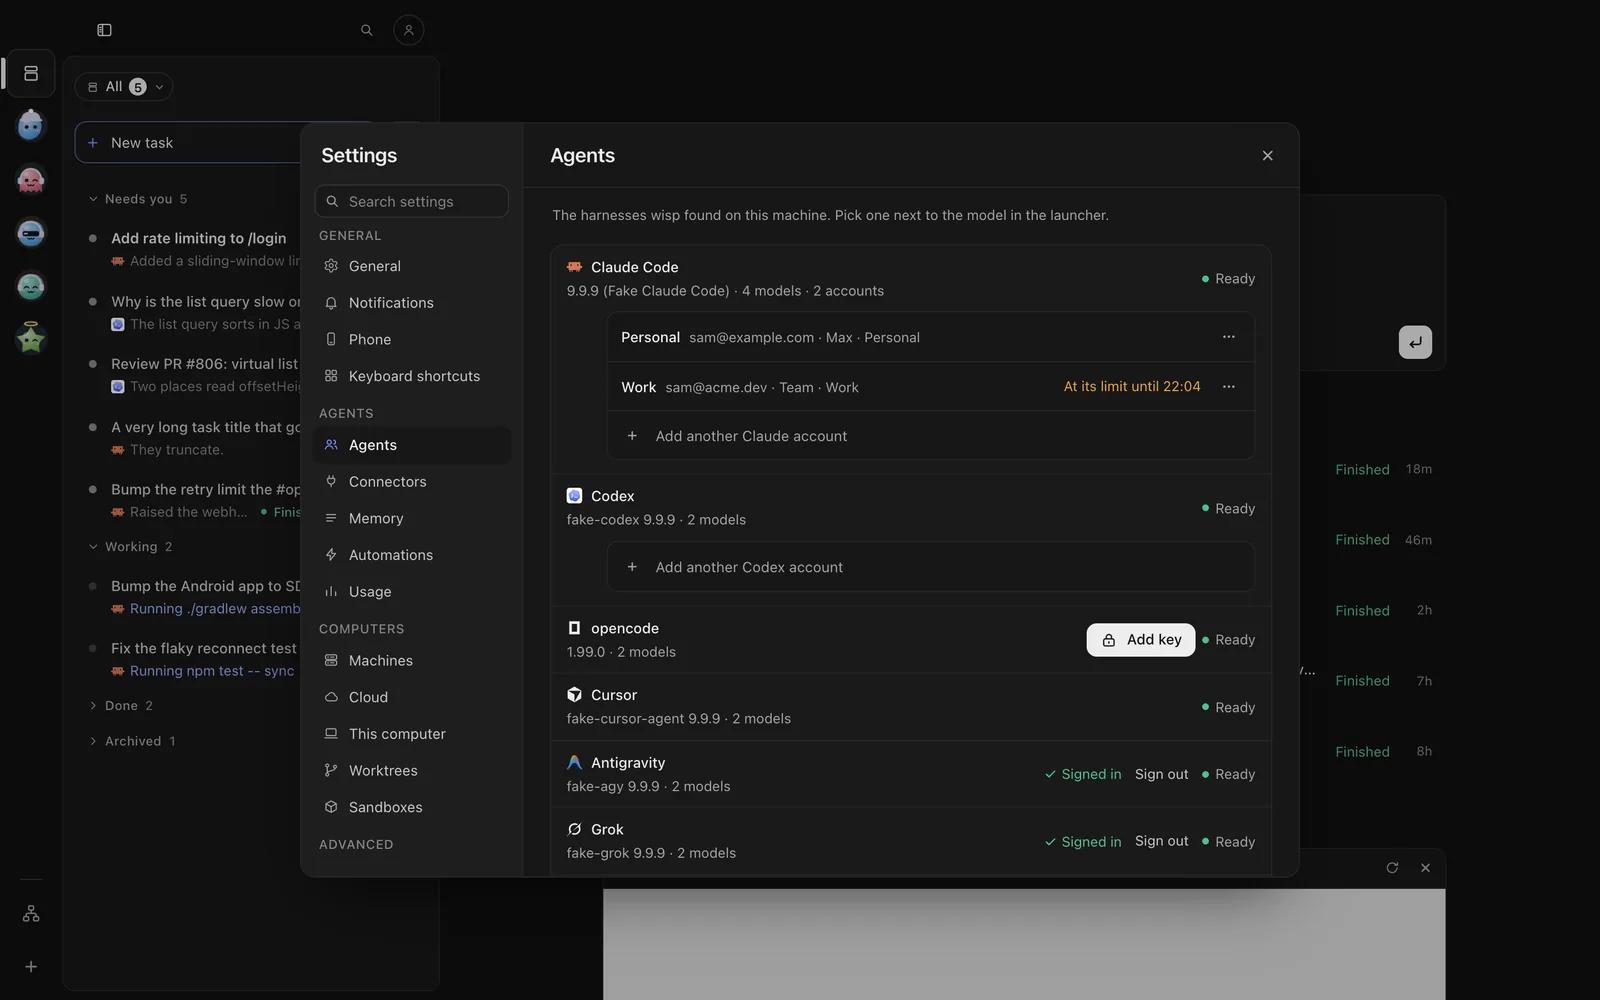
Tap the person button at the top of Tasks → Settings → Agents → Sign in next to Cursor, then Open the sign-in page. Or tap Keys and paste a Cursor API key.
Send /accounts login start cursor default and open the link it gives.
wisp accounts login start cursor defaultwisp accounts login status cursor defaultOr run cursor-agent login yourself, or set CURSOR_API_KEY.
Pick it and its model
wisp reads the models from cursor-agent --list-models. Cursor has no effort setting.
Click the harness chip in the New task footer (N), pick Cursor, then a model. On a running task, the same chip in the reply box changes it for the next follow-up.
Tap New task (on iPhone, the compose button at the top right), then the harness chip under the box. Pick Cursor, then a model. On a running task, tap the options chip in the reply bar, then the agent.
Send /runtime set-agent --agent cursor to move the open task to Cursor.
wisp "rename the config loader" --agent cursor --model <id>Modes: Plan, Edits, Full auto (--mode plan|edits|auto).
What’s different with Cursor
cursor-agent takes no MCP server by flag. So it has no wisp tools in a task: when it needs you, it ends its
answer with a question block, and you answer in the reply box. It can’t start other wisp tasks either.
Open in Cursor
Open the task’s ⋯ at its top right → Open in › Open in Cursor (key T). Cursor opens in a terminal in the side panel.
Open the task, then ⋯ (iPhone) or ⋮ (Android) → This task › Open in Cursor. Cursor’s own screen opens in a terminal on the phone.
Press o in the open task.
wisp runtime resume-command <id>