
Start with Grok
wisp runs Grok Build, the grok command, in the background, one worktree per task, on your own xAI account.
What you need
The grok command on your PATH. Install it from x.ai/cli.
Sign in
Open Settings (the person button in the top bar, or ⌘K → Settings) → Agents → Sign in next to Grok. Open the sign-in page and enter the code wisp shows. Or press Keys and paste an xAI key.
In the browser (wisp --browser, or your cloud wisp) it’s the same window, menus and keys.
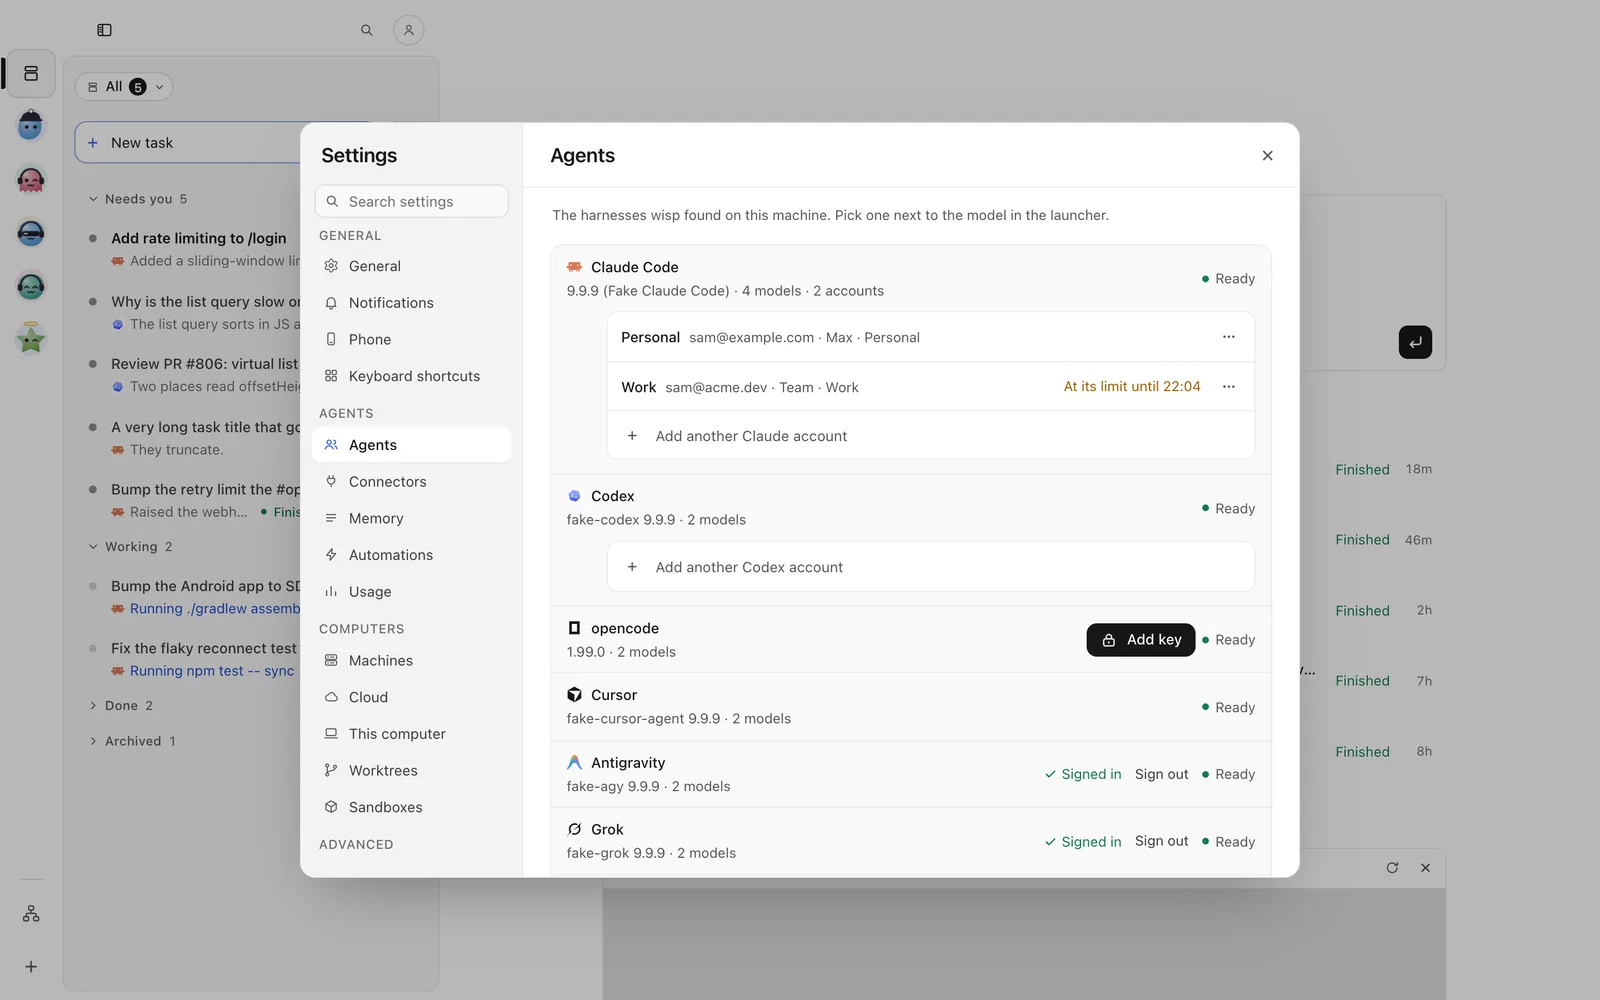
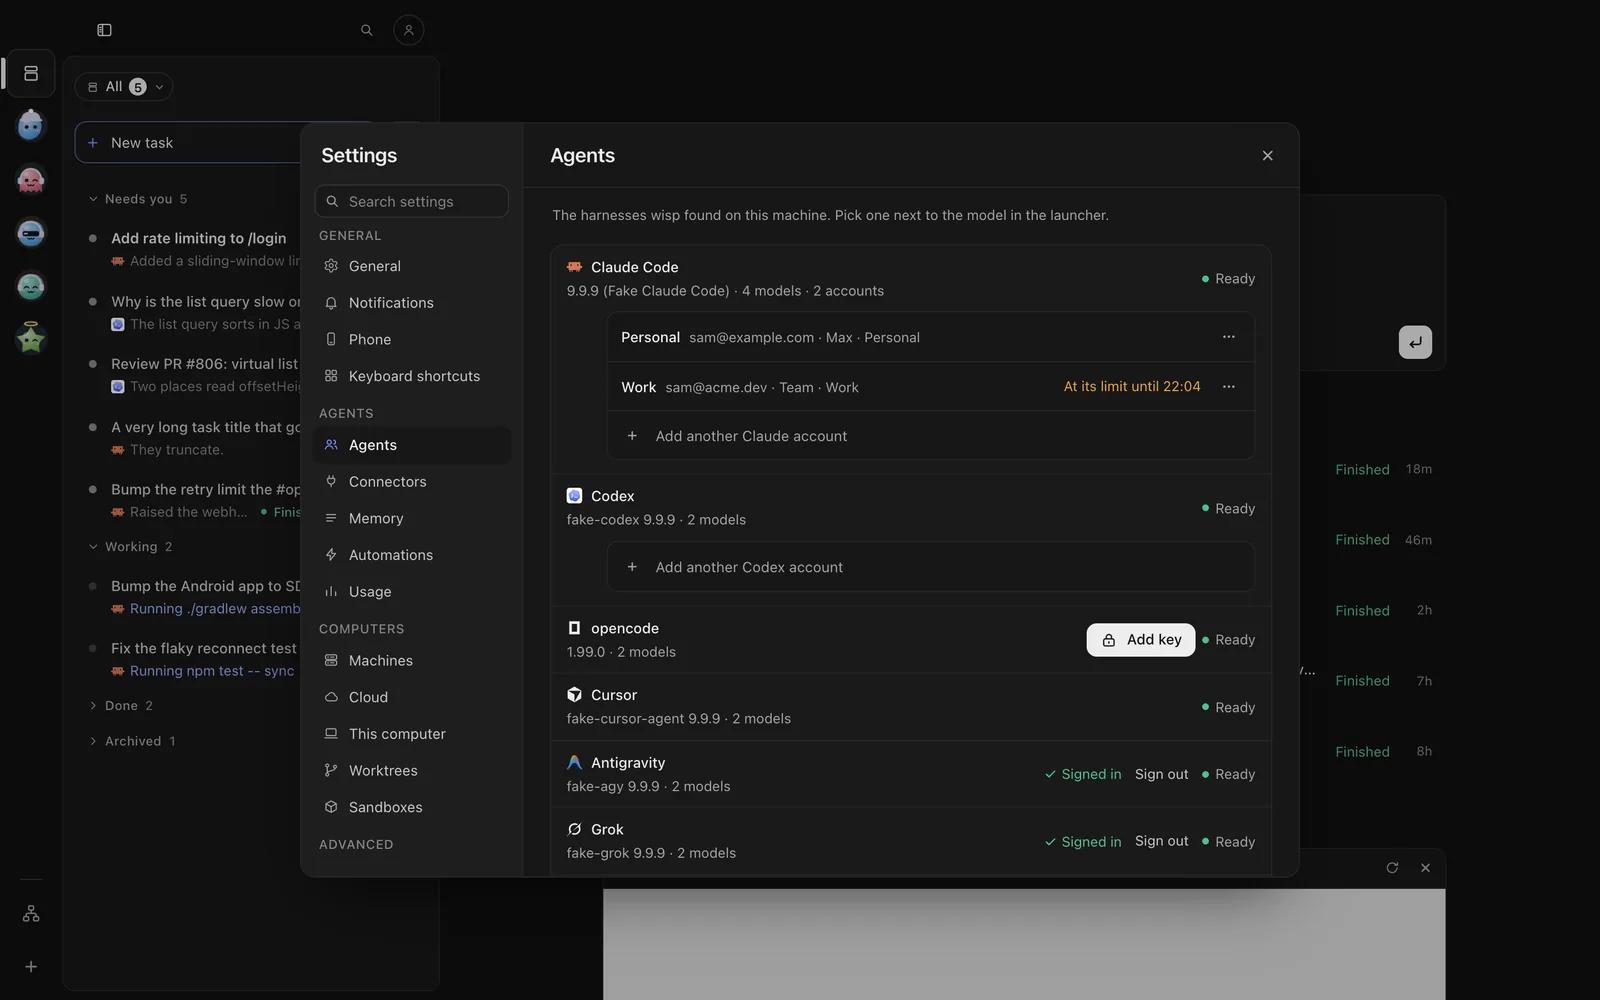
Tap the person button at the top of Tasks → Settings → Agents → Sign in next to Grok. Open the sign-in page and enter the code wisp shows. Or tap Keys and paste an xAI key.
Send /accounts login start grok default and follow the link it gives.
wisp accounts login start grok defaultwisp accounts login status grok defaultOr run grok login yourself, or set XAI_API_KEY.
Pick it, its model and its effort
wisp reads grok models and the levels each model takes. Effort: low, medium, high, xhigh.
Click the harness chip in the New task footer (N), pick Grok, then a model and a thinking level. On a running task, the same chip in the reply box changes it for the next follow-up.
Tap New task (on iPhone, the compose button at the top right), then the harness chip under the box. Pick Grok, then a model and a thinking level. On a running task, tap the options chip in the reply bar, then the agent.
Send /runtime set-agent --agent grok to move the open task to Grok.
wisp "profile the slow import" --agent grok --effort highModes: Plan, Edits, Full auto (--mode plan|edits|auto). A run without a terminal refuses what needs
approval. wisp shows each refusal on the task as blocked.
What wisp adds for Grok
- wisp’s tools (asking you a question, and the rest) reach Grok through an agent definition wisp writes for the run.
- Your prompt and wisp’s rules go in as files, not on the command line.
Open in Grok
Open the task’s ⋯ at its top right → Open in › Open in Grok (key T). Grok opens in a terminal in the side panel.
Open the task, then ⋯ (iPhone) or ⋮ (Android) → This task › Open in Grok. Grok’s own screen opens in a terminal on the phone.
Press o in the open task. Grok’s own screen takes no first prompt, so wisp types it in for you.
wisp runtime resume-command <id>