
Your first task
A task is one piece of work you hand to an agent: “fix the flaky login test”, “add a dark mode toggle”. wisp gives it its own copy of your repo (a git worktree), runs the agent there, and shows you what it did.
Start it
Press New task (N or ⌘L), pick the project, type what you want, and press Enter. The footer under the box picks:
- The mode: Plan only reads and proposes. Edits changes files and asks before anything else. Full auto does the whole job without stopping.
- The agent and model: Claude Code, Codex, Cursor and the rest, each with its own models and thinking level. New task keeps your last pick.
- Where: This computer · Worktree by default: the task works in its own folder and branch, so your checkout stays as it was and several tasks can run at once.
In the browser (wisp --browser, or your cloud wisp) it’s the same window, menus and keys.
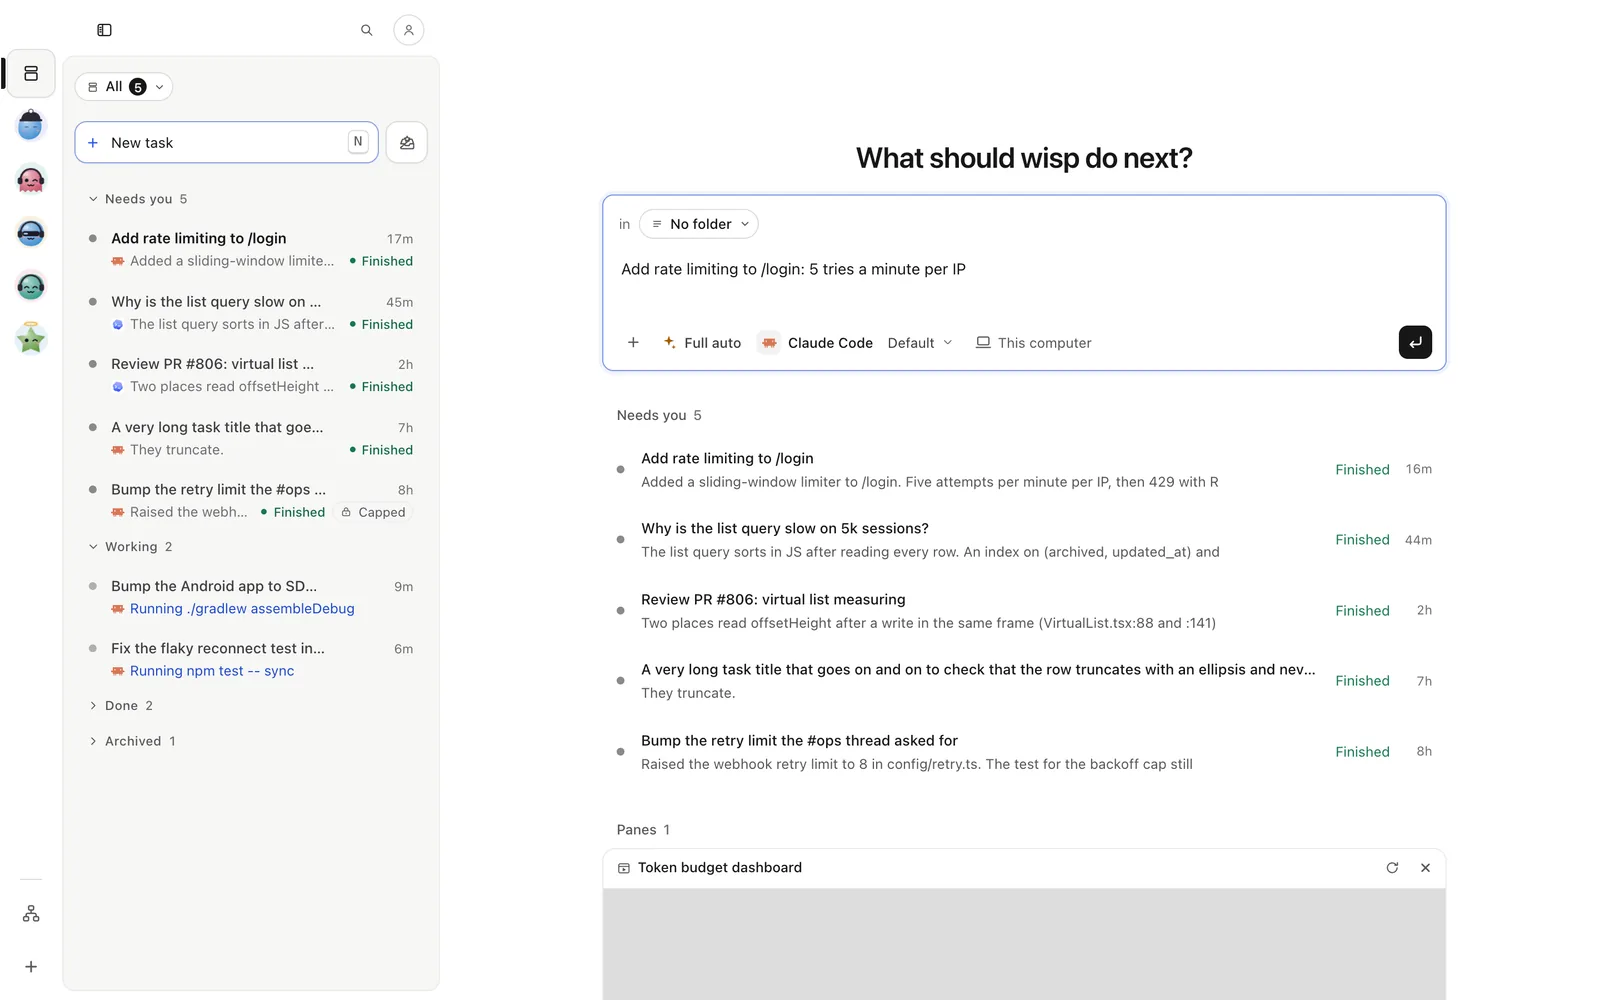
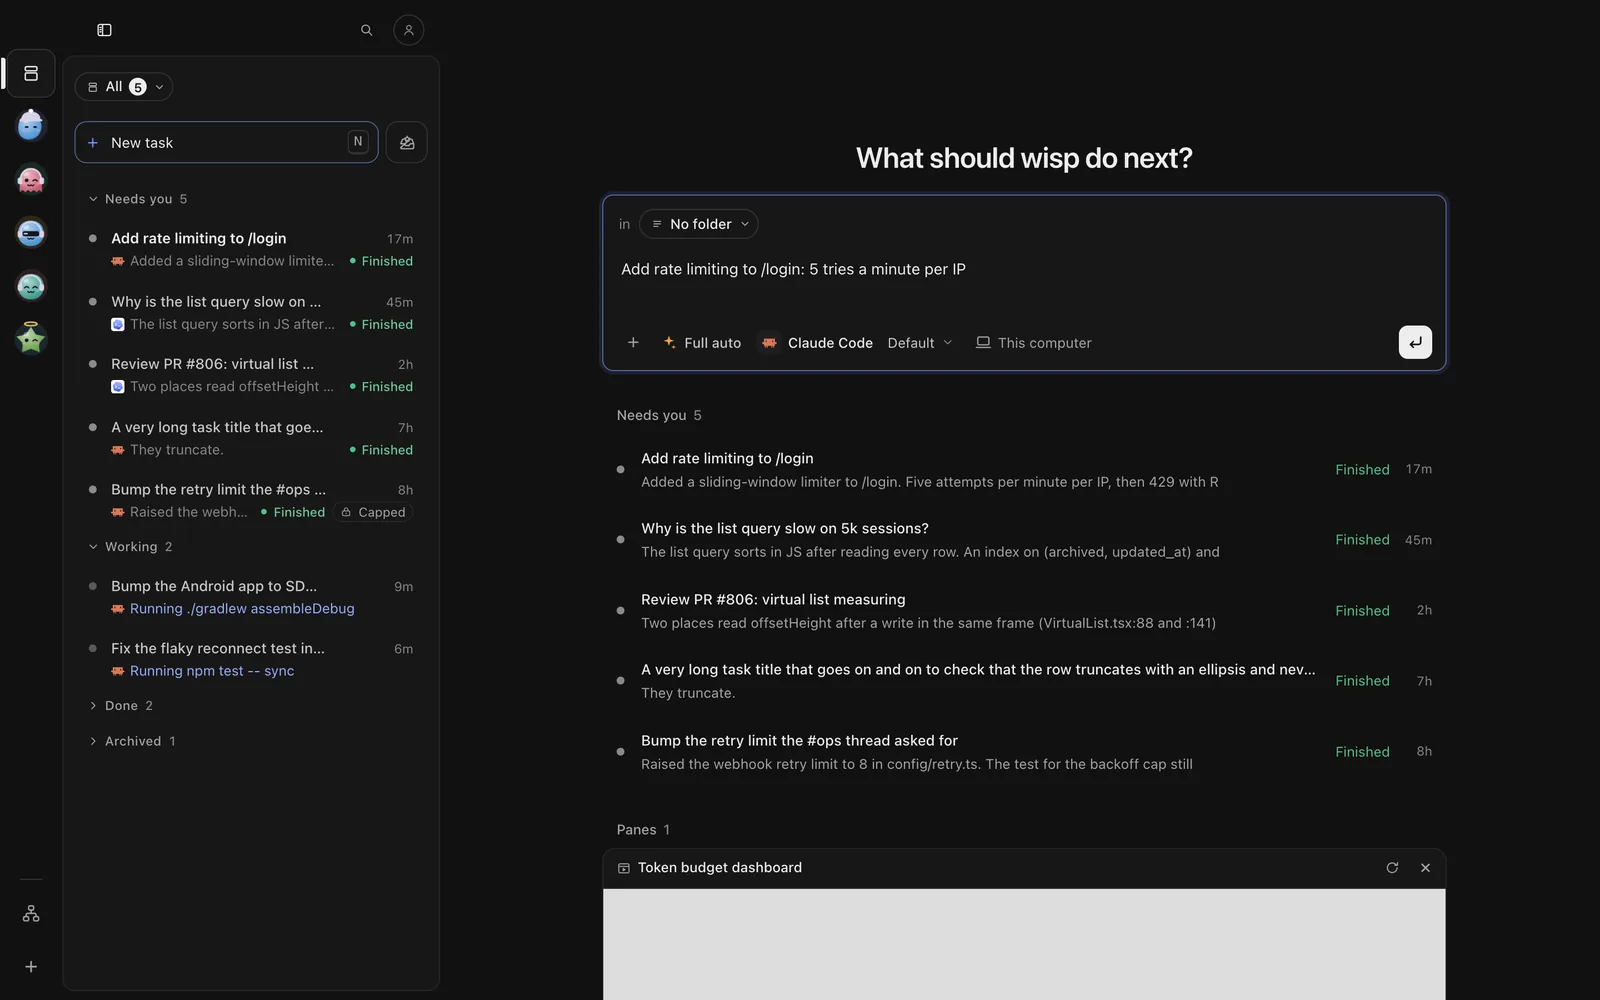
Tap New task (on iPhone, the compose button at the top right). Pick the project, type what you want, and tap Send. The chips under the box pick the mode, the agent and model, and where it runs, the same as on the desktop. New task keeps your last pick.
Run wisp tui in your repo. Press n for a new task, type, and press Enter. Shift-Tab cycles the mode
(plan → edits → auto).
In your repo:
wisp "fix the flaky login test"wisp "fix the flaky login test" --agent codex --effort high --mode editswisp "fix the flaky login test" --no-worktree # work in your checkout insteadWatch it
While it works you see what it’s doing right now. When it’s done you get its answer as cards: what changed, the diff, the tests it ran, screenshots, what you might do next. The full transcript is always one click away.
The task opens beside the list. Its state shows on its row: working, needs you, finished. J and K move to the next and previous task. V opens the full transcript.
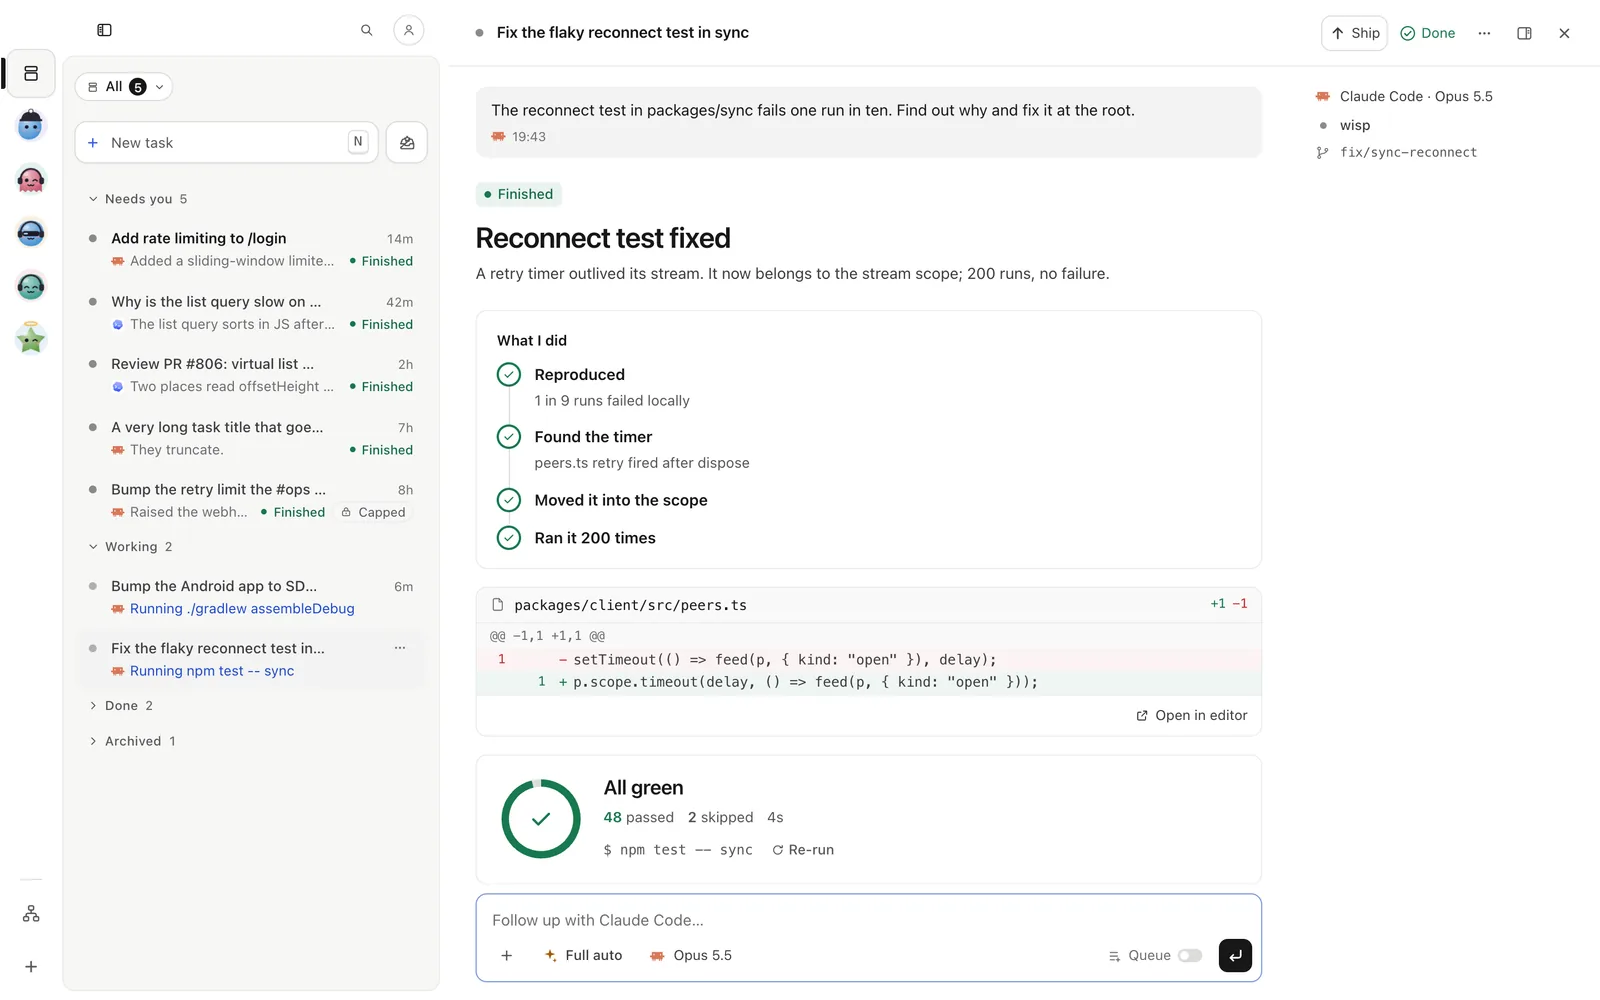
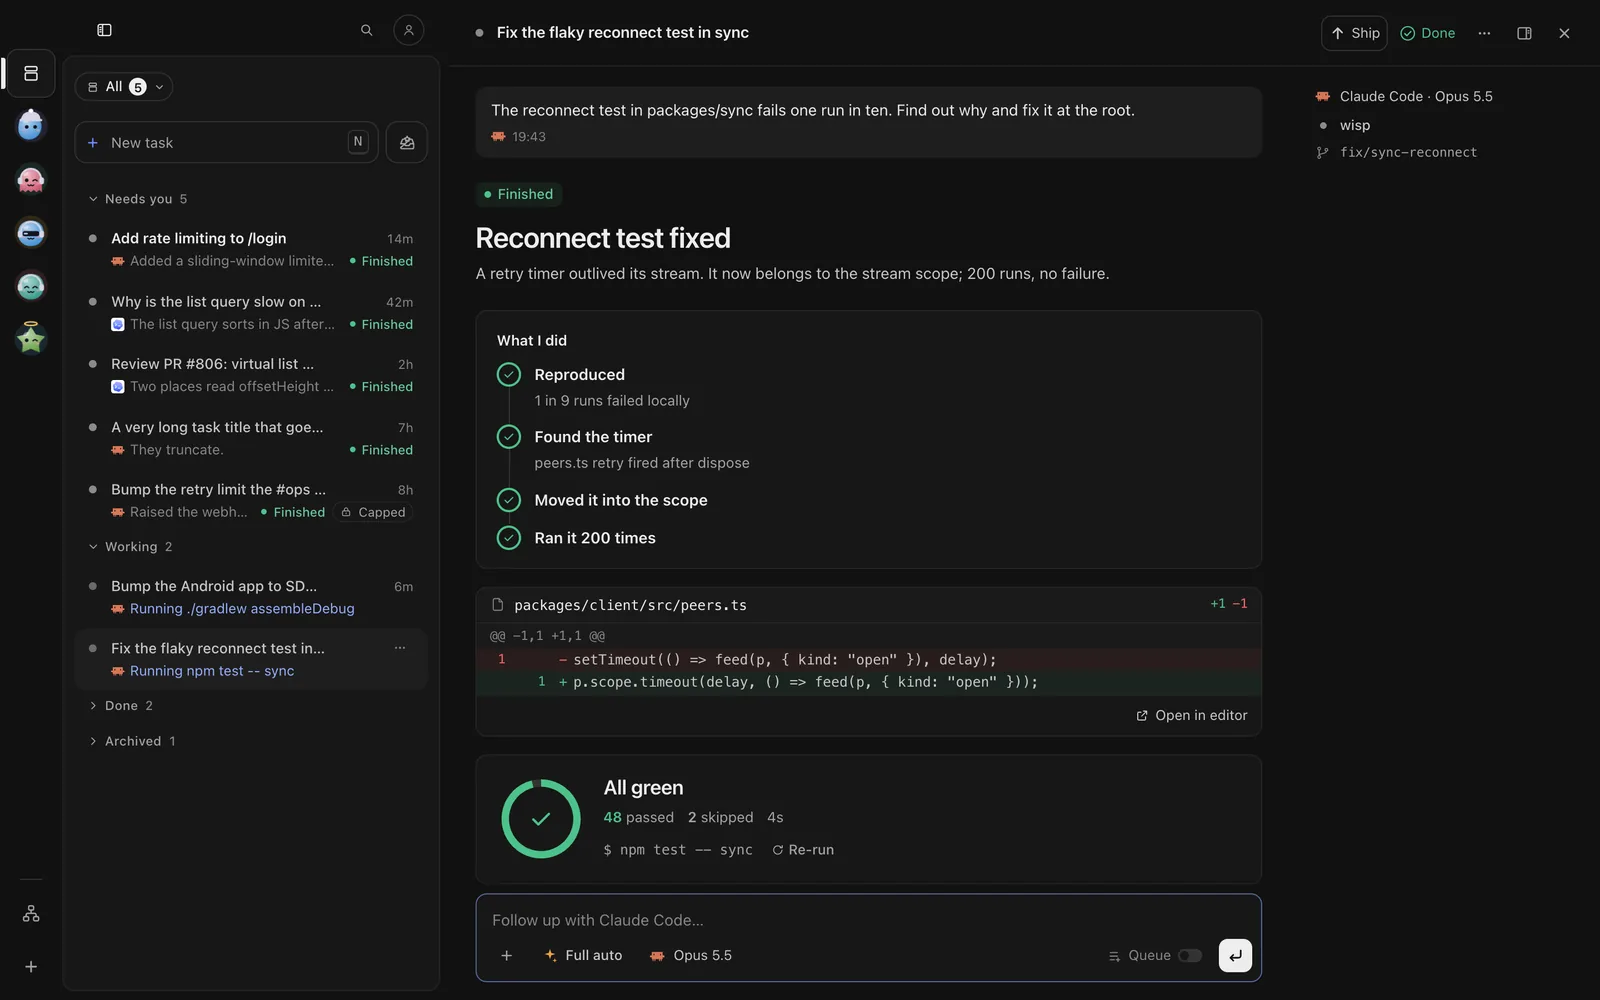
Tap the task in Tasks to open it. The list groups tasks by state: Needs you, Working, and the rest. ⋯ (iPhone) or ⋮ (Android) in the task’s top bar → Show › has the full transcript.
Enter opens the task. j and k move between its steps, Space opens one, d shows the diff.
wisp ls # every task and its statewisp attach last # follow the newest one live, with a reply box afterwisp show last # its latest answer as markdownFollow up
A follow-up sent while the task works interrupts it, or waits its turn if you queue it.
Press / to jump to the reply box under the answer, type, and press Enter. If the answer suggested follow-ups, the first shows faded in the box: press Tab to use it. Switch Queue on to send it after the current turn.
Type in the reply bar at the bottom of the task and tap Send. To send it after the current turn, tap the options chip in the reply bar and switch on Queue.
Press i, type, Enter. While a turn runs, Enter queues it; Ctrl-S sends a queued one now.
wisp reply last "also cover the logout path"wisp reply last "then update the changelog" --queueShip it
Shipping commits the task’s changes, pushes its branch and opens a pull request. wisp then follows the PR’s checks and reviews on the task.
Ship at the top of the task (S). Write it with … has the task’s agent write the PR title and description from the diff, following your repo’s pull request template. When you’re happy, Done (E).
Open ⋯ (iPhone) or ⋮ (Android) in the task’s top bar → Ship it…. When you’re happy, Mark done in the same menu, or swipe the task right in the Tasks list.
With the task open, send /ship ship. /ship merge squash-merges it.
wisp ship <id> # commit, push, open the PR (--draft)wisp merge <id> # squash-merge it and sync your local base branchNext
- Give your repo a
.wisp/folder, so every task is kept next to the code it wrote. - Start with your agent: what’s special about each one.
- All the guides.